With thousands of choices of colour and design, expressing your personality and design ideas with wallpaper remains as popular as ever. Whether you choose a single wall or entire room, hanging wallpaper correctly is essential to achieving a great result. If you’ve never wallpapered before or it’s been a while since you were last up close with paper and paste, read on for a step-by-step guide to hanging wallpaper.

Preparation
Preparation is an essential part of any DIY task and wallpapering is no exception. Ensuring that the wall(s) that you plan to paper are primed ready to be papered will help with a smooth, professional finish. Remove any nails or screws and fill in holes or dinks and sand them down to a smooth finish. If your walls are in poor condition, it might be worth reskimming them to get a nice smooth finish.
Remove any Paper Currently on The Wall
Wallpaper will show up any imperfection on the surface of the wall. To achieve a smooth finish and avoid any air bubbles and creases appearing as you hang the new wallpaper, you will want to ensure that any old wallpaper has been removed. This can be done using an electric streamer or using a chemical solution. B&Q provide this handy guide on how to remove wallpaper. Clean and dry walls are a must, so once the removal is complete, wipe down the walls and allow them time to dry.
Wallpapering Freshly Plastered Walls
If your walls have been freshly plastered, or they have bare patches they should be sized (insider speak for sealed) using a watered down wallpaper paste or a PVAC solution. This will prevent the wallpaper paste drying too quickly and gives a smoother surface for you to manipulate the wallpaper when hanging.
How Much Wallpaper Do I Need?
This shouldn’t be guesswork or a rough estimate! Using a wallpaper calculator like this one from B&Q will help gain an accurate measurement as to the amount of wallpaper you require. The calculator gives the option for including 10% wastage which is highly recommended! When buying your wallpaper, make sure that each roll has the same batch number. If you don’t, the rolls could be slightly different colours.
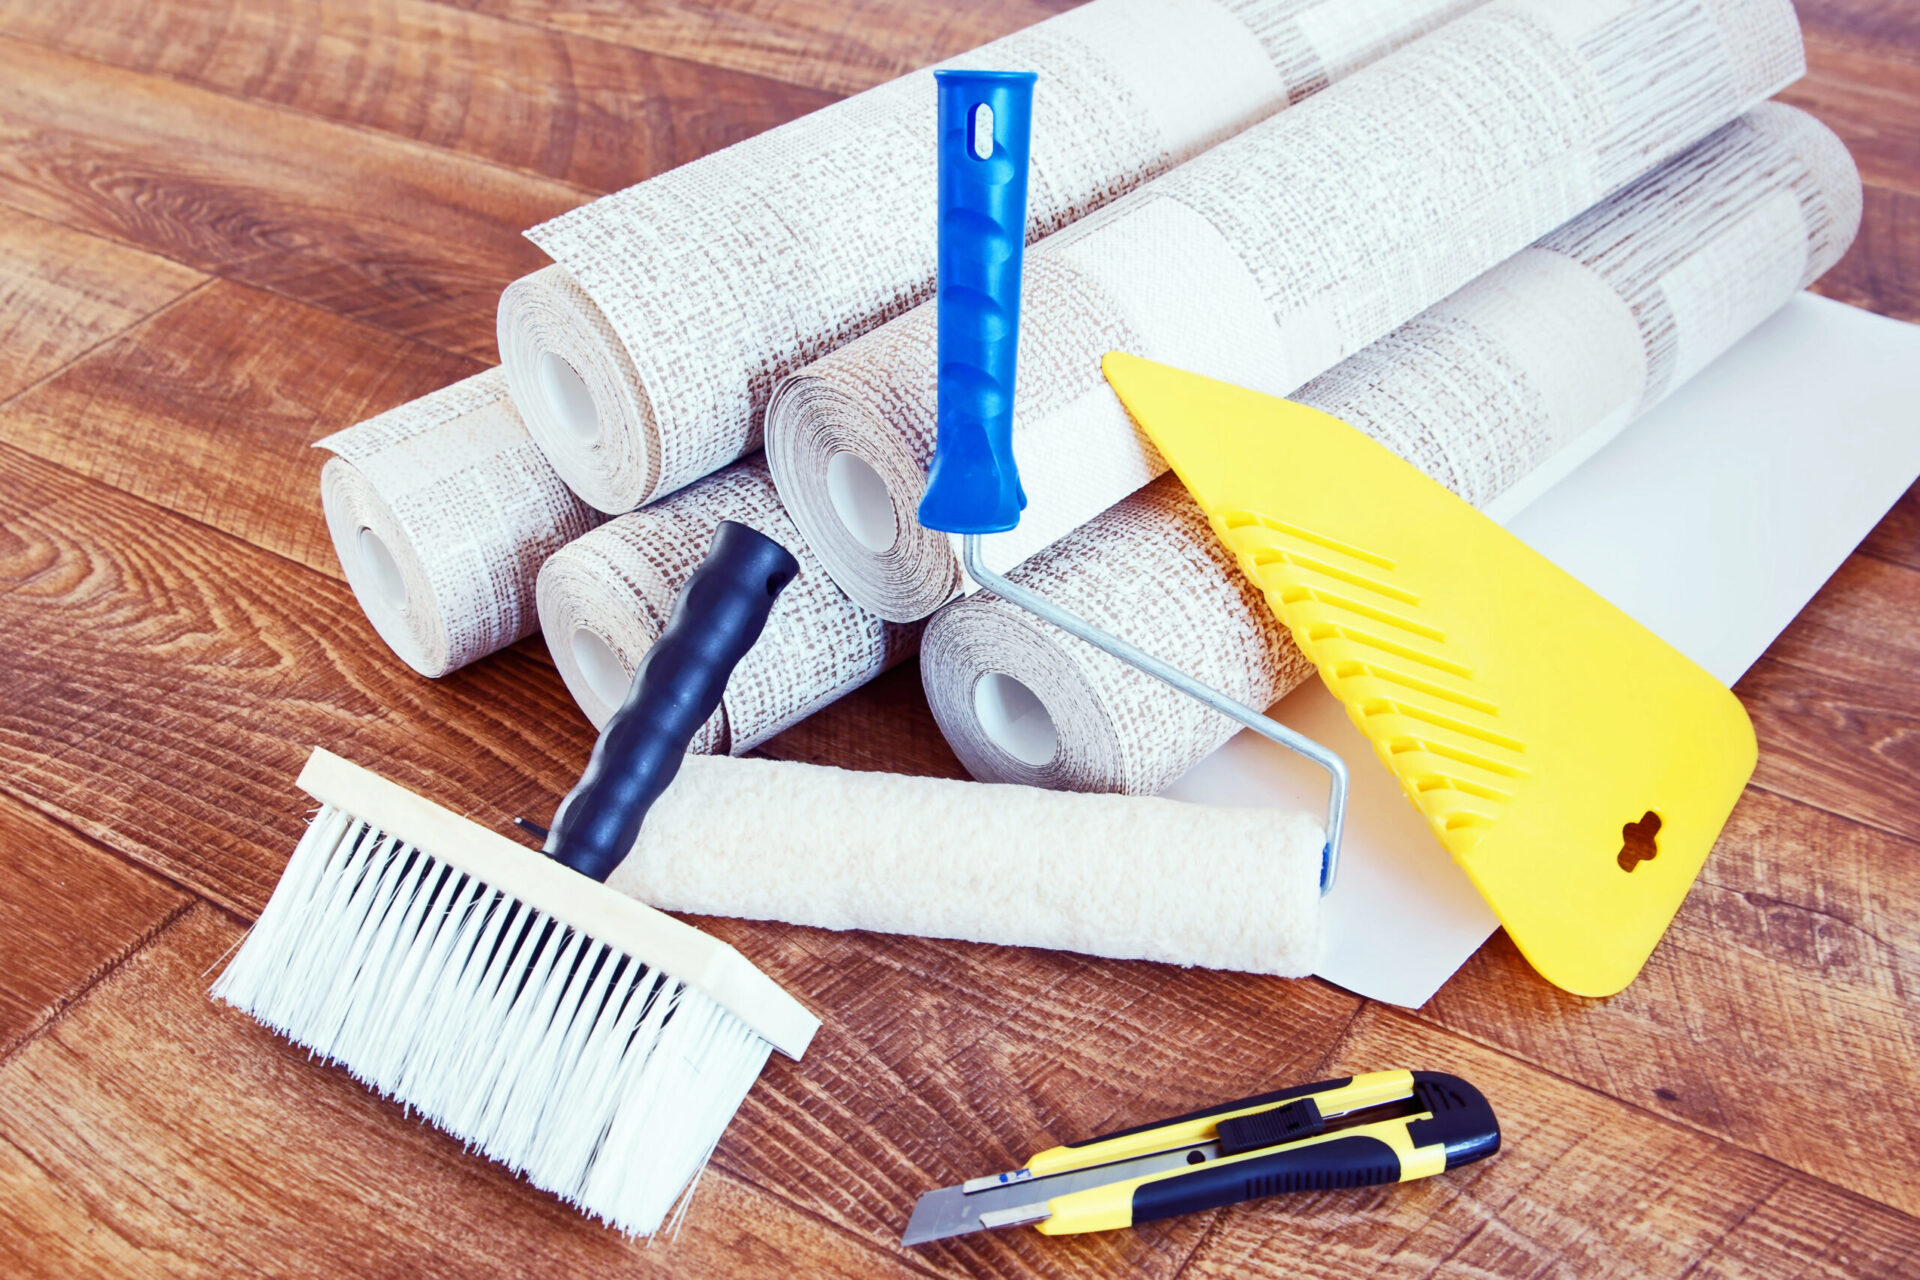
Tools and Materials Needed
- Wallpaper of your choice
- Wallpaper paste
- Pasting brush
- Wallpaper smoother
- Pasting table
- Stanley knife
- Scissors
- Ruler
- Pencil
- Spirit level
- Seam roller
- Stepladder
- Dust sheet
Selections of the above wallpapering tools can be found at Screwfix, B&Q and Homebase.
Now you are ready to begin…
Step 1: Lay out your dust sheet under your work area and begin to mix up your paste according to the manufacturer’s instructions. Top Tip: Lay out all your tools ready to hand so you aren’t trying to find or unwrap them mid-paste.
Step 2: Using your spirit level, draw a vertical line 50 cm (assuming your roll measures 53cm in width) from the corner of the wall where you intend to begin papering all the way from top to bottom, giving you a straight hanging mark to begin. The remaining 3 cm avoids the hassle of imperfect corner junctions (room corners are often not straight).
Step 3: Cut your wallpaper to the correct size, leaving 3-4cm at the top and the bottom of the section to overlap onto the ceiling and skirting board. This will allow you a buffer for moving the paper around and also allow a clean and accurate cut.
Step 4: If you have paste to wall wallpaper, begin to apply the wallpaper paste onto the wall with a roller or pasting brush in a thin, even layer, beginning at the vertical line you’ve just drawn. Start at the top and work your way down, moving across the width of a roll. Your stepladder will help you to reach the top of the wall.
For paste to paper wallpaper, lay the paper onto the pasting table and brush from the middle outwards to ensure that the paste does not transfer to the printed side of the paper. Fold the pasted back of the paper onto itself, top and bottom ends meeting in the middle, being sure that the side edges line up perfectly. Smooth the paper onto itself as much as you can without creasing the paper to make it easy to offer up to the wall. Leave the paste to soak in for a few minutes before trying to hang.
Step 5: Carefully position your wallpaper against the wall and check the alignment of the strip against your vertical mark. Check again! Once you’re sure that this is straight, use the wallpaper smoother to smooth it from the centre to the edges. This will disperse any air bubbles and wrinkles.
Step 6: Now trim any excess paper on the top and bottom of the walls with a sharp Stanley knife and a ruler. Any joins can be flattened out with a seam roller. Make sure you regularly change your knife blade; you’ll be amazed how quickly they go blunt and start snagging the paper causing rips.
Step 7: Position the next strip of wallpaper (without paste) next to the one you have just hung and ensure the pattern matches properly. You will find that there is a larger portion of waste when you do this as the repeat patterns aren’t always sized to your walls. Once again cut the paper to size and hang as before. Take time to match the pattern properly and ensure the edges are properly pasted or the seams will separate. Finally make sure you roll the seams or they will spread out when drying.
And there you have it, you are wallpapering!
For tips for dealing with switches, sockets, doors, windows, radiators, and pipes visit this handy guide from B&Q.
Wallpapering is one of those jobs where the end result can look fantastic and a real statement, but it is also one that requires patience and then even more patience. Take your time, measure and measure again, give the paper time to soak in (for paste to paper) and make sure your pattern matches and that your paper is straight. At the end, stand back and marvel at your newfound skill!